Category: Christmas

Build Your Holiday Stash Spring Into Christmas Hop Day 2


Hello Crafty Friends! I am back today showing you what you can do with the Mystery Collections that I am offering up as a prize for being a sponsor. I took the 6 pieces of paper, and 2 of the embellishments to create these super quick and simple cards! I did not even use one of the embellishments or the stamp in my projects today....you see I needed very quick cards cause I was gone all day to watch a grandson play baseball! Hope you enjoy my cards!


Thanks for stopping by! Happy Crafting!


November Collected Crafty Collab: Christmas Theme


Hi to all my Crafty Friends! I am in full blown Christmas mode so was very excited to show off these cards. I am combining this with my friend Alicia's challenge. She is from "Call Me Crafty Al" over on YouTube. She is doing a No-Spend November challenge with lots of inspiration for using your stash. 


Challenge #8 is "I can See "Clear" ly Now" So, I have created 4 clear cards with tags that were in a Flavor of the Month Kit before. Thanks for stopping by and joining me.


These were the front of the tags


And these were the back of the tags...I just used the blank canvas 
to stamp and color some simple images.


Next up on the hop is Lounon...check out what she has to show!


Sheetload of Christmas Cards #marvelousmondaycraftingcrew


For this Monday's post I used one of my weekend crafting projects to showcase. This is one of my favorite sheet loads...I have a few...and pulled out some very old  but gorgeous scrapbook paper from Crate Paper called "Bundled Up". I used the June 2019 sheetload to make a whole lot of cards. Some of the cards still need sentiments on them but I will get those finished up in no time. Hope you enjoy.


Have an absolutely wonderful crafty Monday!

Build Your Holiday Stash Day 3 (a couple days late)


I decided to use some SFL paper and Pebbles stickers to create some quick simple cards.

I used the following MOJO Monday sketch for these 3 cards.


I used the paper from last November's Christmas Card kit to create these cards.


Papers used:  Holly Berries from Scrapping for Less


Build Your Holiday Stash Day 3


I spent most of the day in my craft room creating projects I needed to work on. I did not get today's cards completely finished enough to link up but I am putting up a blog post for them. I have been on a kick lately making a bunch of cards at one sitting instead of just making 1 or 2. Here are my 17 cards I made today. 


These will all have sentiments and/or images on them tomorrow.

Thanks for taking the time to stop and take a look.

Scrapping for Less Proudly Introduces Newton's Nook!


I am super proud and excited to introduce the new holiday (and some not so new) line of products at Scrapping for Less. The Design Team members have worked extra hard and fast to bring you some great ideas using some of these products. There are some great projects here! You can click on the banner above and go straight to the Newton's Nook products. The products are in limited quantities so you just might want to go ahead and shop now...just saying. 😉

I chose the beautiful snowflake stamp set called...Beautiful Blizzard


I created several cards to add to the stash I need for a card sale I am participating in. These were just the perfect additions!


I used several different techniques and products on these cards.

                                     Head to the Scrapping for Less store to find the brand new Newton's Nook
                                        items and also check out the shop as well for all sorts of goodies!

  Leave a comment on each blog and you will be entered into a random drawing for a product goodie! Also, since this release focuses on the holidays all of the Newton Nook offerings are from their holiday line up. 


Here is the Line Up for the Hop:

Scrapping for Less Blog: all the for sale products will be featured in this post
Teresa Russell...you are here
Stacy Tiedemann


Winners of 12 Days of Christmas Blog Hop!!!...Finally!


Please forgive me for not getting to this sooner! I had some major computer issues along with Christmas busyness it really took me a while to get to this. So here is what I plan to do...since I only have 1 prize I am going to do a random drawing to pick the day, then do a random drawing to pick the winner of that day...


So the day is Day 10!


And the winner of that day's comment is #18...which is Jodie R. Congratulations!!! I will be getting your Christmas prize package out to you within 3 days after I get your info!

Jodie R. please contact me at teresascraps@gmail.com with your address information!

Christmas Blog Hop


I have the privilege of being in this awesome Christmas blog hop with Ashley over at The Blog Hop Princess and I have created a really cute project for someone special. There is going to be some wonderful talent in this hop so make sure you go to each blog and see what is there for you!

Here we go again! I am getting my craft on this season! And it feels so good! I have all these wonderful ideas running around in this head of mine and keep seeing more to add to them. I wanted to buy my granddaughter a pink Christmas tree and ornaments for her bedroom but the funds were just not there for me to do that. Well, it pays to have been a scrapbook hoarder...oh I mean collector...over the past several years. I saw this adorable ribbon tree...on Pinterest of course! So, I went to the craft supplies and low and behold I had everything I needed to make this for her and it even goes with the wreath I made her for her bedroom door. You can see her wreath here.

For the ribbon tree you need lots and lots of ribbon...You can use all the same width or you can vary it like I did. You need to cut the ribbon in 4" strips. I made a cardstock measuring instrument and used it to wrap my ribbon around it and then cut both ends so I could cut lots of 4" strips at a time.

Then, you hot glue the ends together and put a dab of hot glue on the other side and adhere it to your cone. Stagger the ribbons as you go up the cone so you are covering up any of the styrofoam that may show through. Once you get to the top you can wrap a ribbon around the top...I happened to have this fancy trim so I wrapped that around several times hot gluing as I went...(I am surprised I did not burn my fingers). Then I pulled some 3D flowers out of my scrapbooking stash in the color scheme and pinned them to the top. My granddaughter is going to absolutely love this!
It looks like it is leaning but it is straight I promise!


You should have come here from the very talented Cindy...if you didn't you might want to start at the beginning over here...and after reading, seeing, and commenting (I love comments!) you can hop on over to Paula and see what inspired her for Christmas.

Here is the whole lineup for the blog hop just in case you need it!

Day 12 (Last One!) of the 12 Days of Christmas Blog Hop


I am soo very sad to see this blog hop end. Why you may ask? Cause a blog hop of this magnitude is certainly lots of work. Well here is my answer!! There are several reasons...

  1. Our fabulous hostess Lisa Tehonica Pontious over at Honey Bearz Designs has done an amazing job organizing all of this for us to enjoy. Kudos to you Lisa!!!
  2. There have been an amazing group of ladies in this hop. Their talent is phenomenal.
  3. It got me motivated to create! And, helped me step out of the box to try new techniques.
  4. I am not ready to be finished!! I have so much more I still need to do. Lots of my Christmas presents this year include tags or homemade little touches to go along with them and I have not finished. 
  5. I still have decorating to do!

So because of #4 and #5 above I will be extending this myself for the rest of the month. Maybe not daily but I will continue to post all of my wonderful creations through the rest of the month. 

For today's project I was browsing last night...either on Pinterest or the net and saw an adorable Christmas owl...well that inspired today's project. 

I used this cute Christmas owl from the Winter Wonderland cartridge and made him all in Christmas colors. I cut designed him on my Gypsy and cut him at 4.41". I typically do not like to use this color for my card base but felt like it went well with all the patterns. I then used a small sentiment to stamp "Merry Christmas" in Close to My Heart chocolate ink.

Instead of trying to cut the tiny little pieces for his legs, nose and the tip of his hat...I used Stickles.


I want to thank all the wonderful gals that have taken the time to follow me and comment on all of my projects over the last 12 days. Several of you had some questions and such along the postings, I will be answering those in a post later this week so if you were one of those come on back!  And now on to my surprise! I will be randomly choosing a day. Then, from that day randomly choosing a comment and sending out a surprise Christmas assortment of scrapbooking supplies. So, you see it is very beneficial to comment on each day!!


And if you made it to the end of this long winded post I will have some updates in a couple of the threads for you tomorrow as I finish up decorating 3 areas with items created for this blog hop so tune in tomorrow for the finale on Day 10 and 11 and 2 more little areas that I plan to decorate today.

Blog Hop Business: Make sure you check on over at HoneyBearz Designs for the whole lineup and to see today's sponsor and prize package. Also Lisa is given away some prizes at the FB group...for the whole hop. You can find that here. And last but not least check out the wonderful creation that Madge has for you today! See you tomorrow~

Day 11 of the 12 Days of Christmas Blog Hop


Boy, have I learned some lessons during this blog hop. If I am fortunate enough to be in this hop next year I will start in January creating my projects!! Or at least in September! I have absolutely had a blast though. I sure hope all of you have gotten some inspiration from the past few days. I know I sure have!

Today's project came right off Pinterest! My favorite place!

Overall view

Top View

Closeup View

For today's project I made a centerpiece for my table. I used redline tape to secure to the candles and then poured glitter on the tape. The candles were a mess so I used a paint brush to brush away the excess glitter. I then had some styrofoam balls that I slathered in glue (with my finger...that was the easiest way) and then rolled them in glitter. Last, I arranged them on the acrylic tray. I got that at WalMart over by the cake decorating stuff. As a final touch I also arranged these little gems I spotted on the end cap at WalMart. They were $2.97 but the perfect touch for the tray.

I think it might need something else...a cloth to put on the bottom? paint Merry Christmas on the edges of the tray? or paint a design? tell me what you think!

Now, I need to go clean my scrapbook room! It looks like a glitter bomb went off in there! Make sure you comment each day a surprise is headed your way tomorrow!

Blog Hop Business: Make sure you check on over at HoneyBearz Designs for the whole lineup and to see today's sponsor and prize package. Also Lisa is given away some prizes at the FB group...for the whole hop. You can find that here. And last but not least check out the wonderful creation that Madge has for you today! See you tomorrow~

Day 10 of 12 Days of Christmas Blog Hop


Whew! I have no clue how I ever found the time to work!! I have been running like crazy lately and it still seems like nothing ever gets off my plate. I am loving being home this time of year though! Would not have it any other way. And of course I am absolutely loving this blog hop. So wish I had more hours in the day cause I would be crafting sooo much more and showing you lots of other stuff. So many ideas spinning around in my head.

Today's project is super duper simple. I used my friend's Gypsy for the Christmas tree cut cause I did not have the right shaped tree. I am sorry but I do not remember the cartridge I used. Then, I used George for the star. I cut 5 trees and 5 stars. I plan to decorate an area of my house I have never decorated before. I have to get the ladder out to put them up so I will do that a bit later and come back and post the final picture with them all hanging. Anyhow, here is the Christmas tree and the star. I cannot wait to see this all pulled together. Thanks for taking the time to look. Remember to comment on each day cause it will definitely be worth your while. I have a surprise in store for you!


Blog Hop Business: Make sure you check on over at HoneyBearz Designs for the whole lineup and to see today's sponsor and prize package. Also Lisa is given away some prizes at the FB group...for the whole hop. You can find that here. And last but not least check out the wonderful creation that Madge has for you today! See you tomorrow~


Day 9 of the 12 Days of Christmas Blog Hop


I want to apologize right off the bat ladies. I have used up all my items I had made ahead of time and I had a super, super busy past 2 days...yard sale Friday and Saturday, kept 2 of my grandsons Friday evening for parents to go out, then took granddaughter to the annual production of the local dance company's Nutcracker last night. So I have to show you today 2 areas of my house all decorated for Christmas. Again, I am so sorry I do not have an actual project to show you.

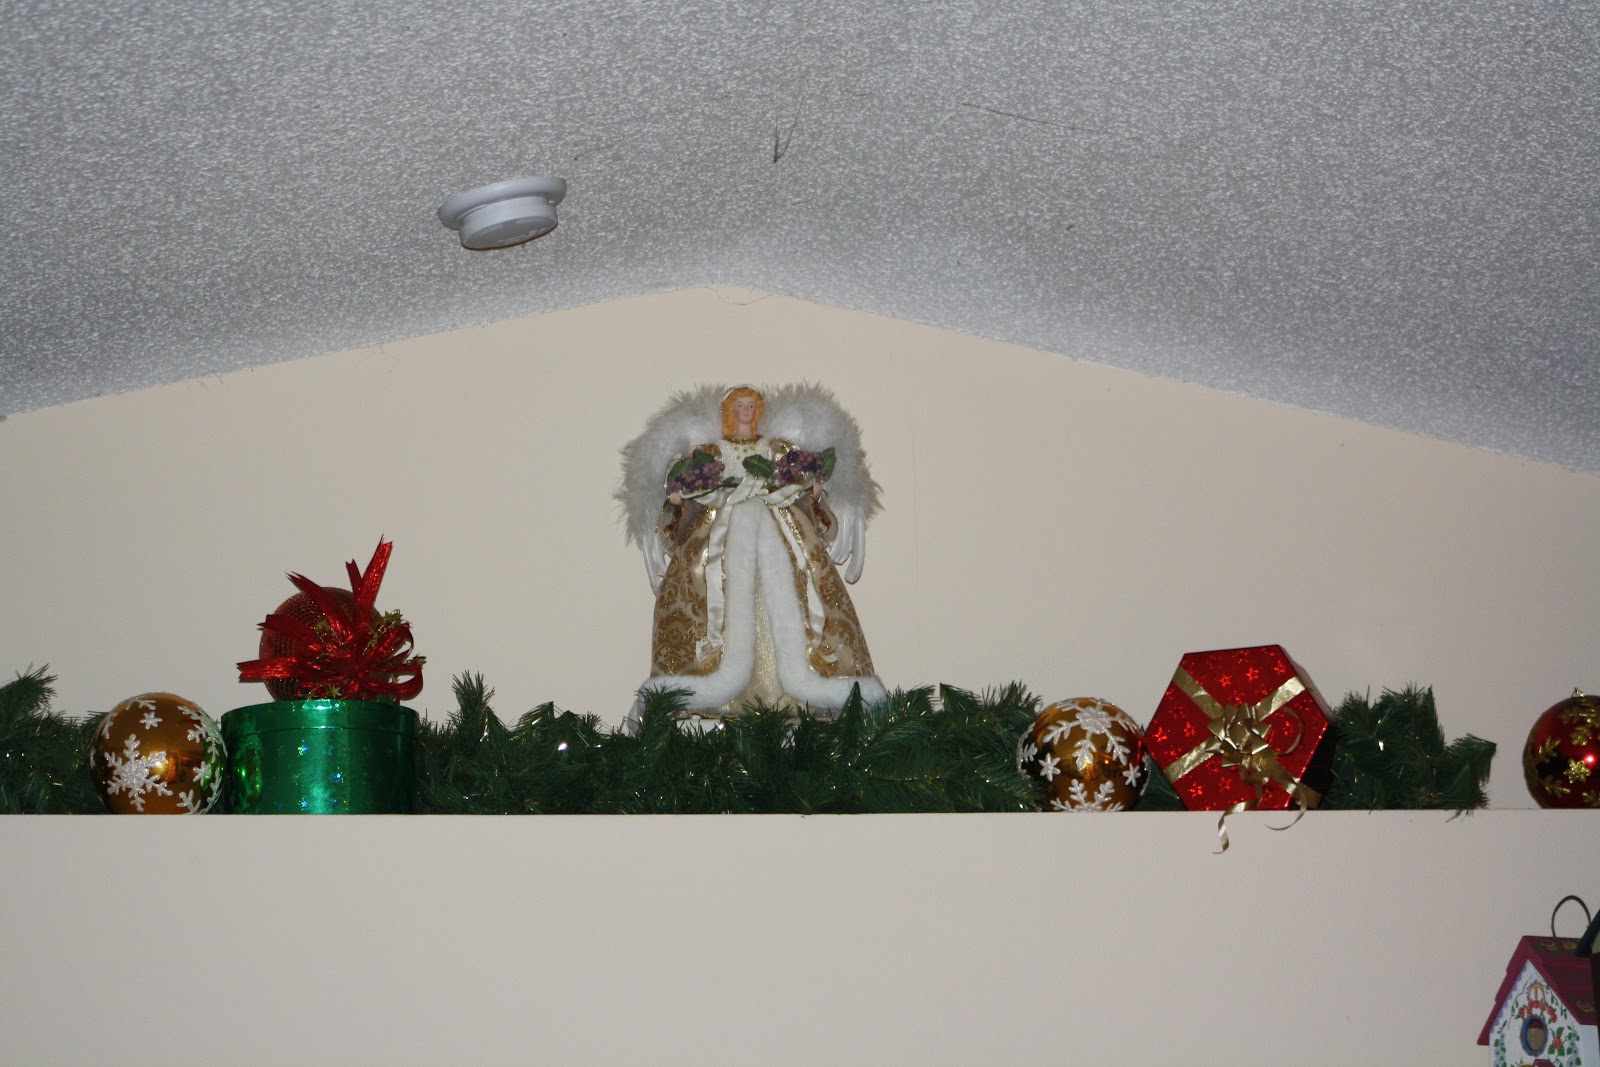
First up is my most favorite area of my house. It is one of the plant shelves in the living room. I absolutely love the decor of this area.


Next is my beautiful tree. I got this tree at an awesome price after Christmas one year. I was testing last night how to take those twinkling light tree pics with my camera. One of my new goals for 2013 will be to finally learn how to use my camera better.


Blog Hop Business: Make sure you check on over at HoneyBearz Designs for the whole lineup and to see today's sponsor and prize package. Also Lisa is given away some prizes at the FB group...for the whole hop. You can find that here. And last but not least check out the wonderful creation that Madge has for you today! See you tomorrow~